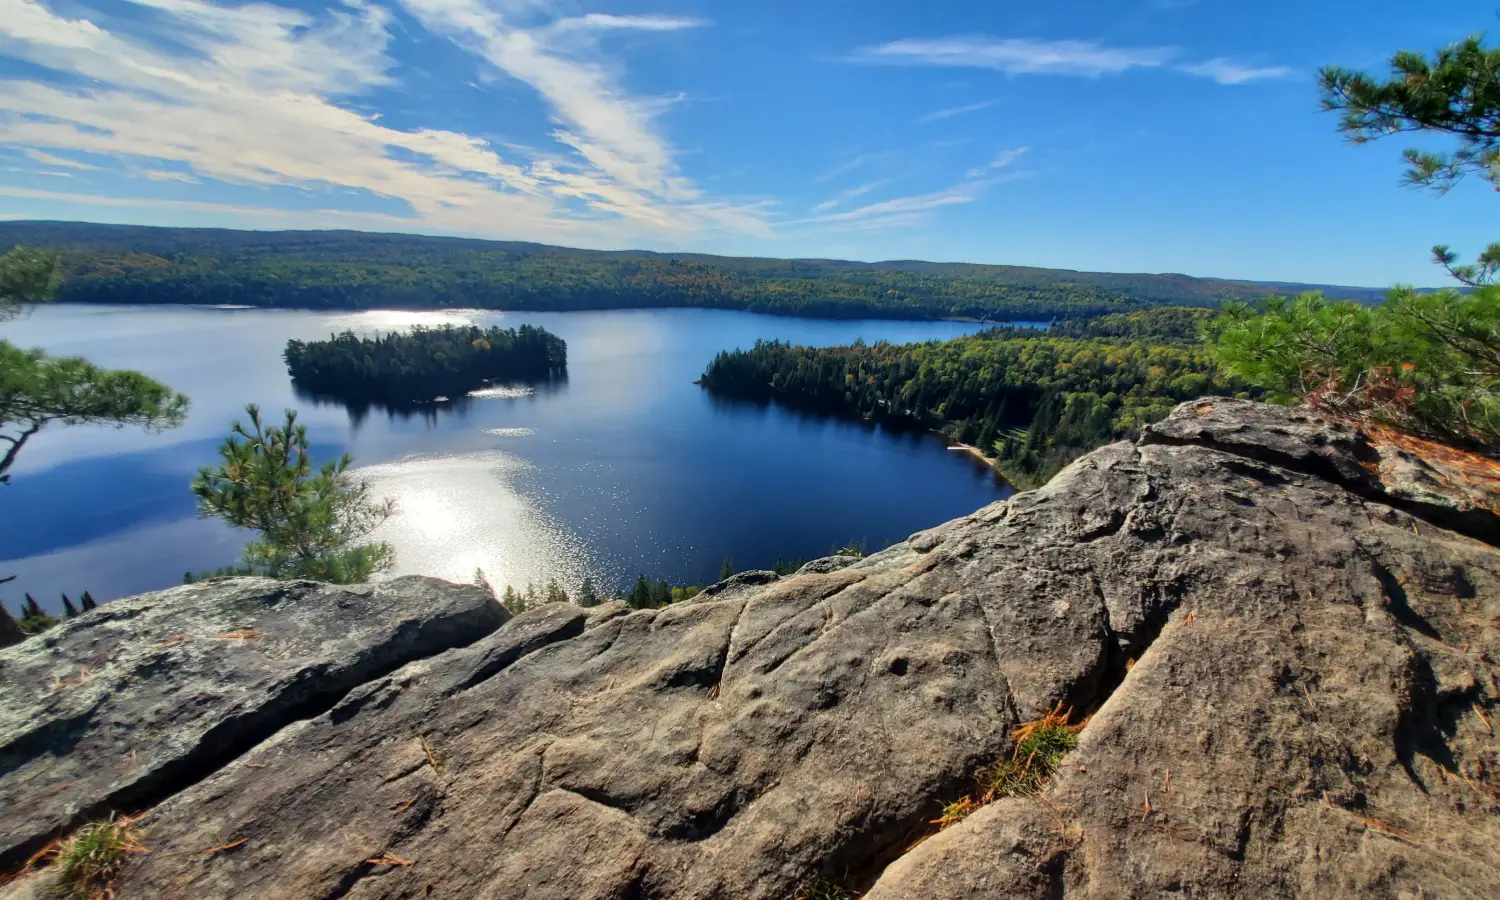
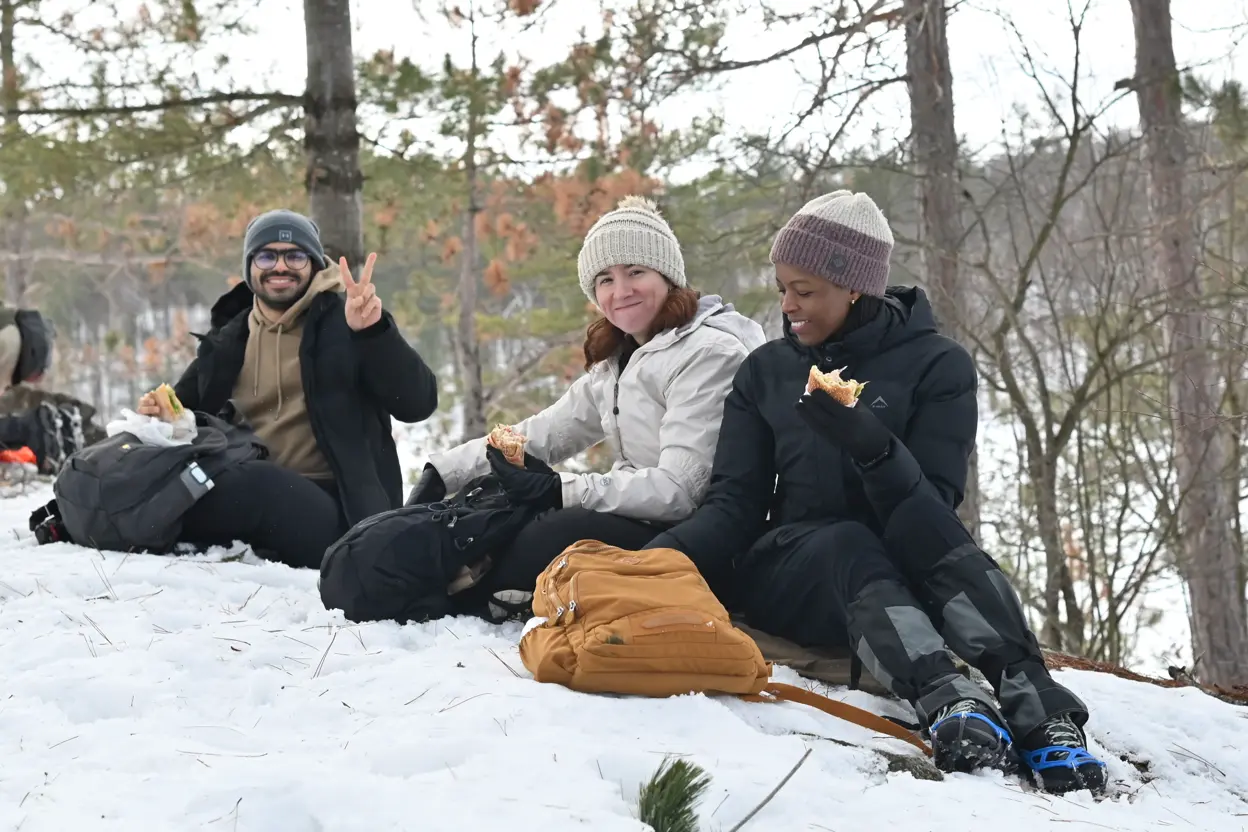
If you pack away your boots the moment winter rolls in, you’re missing out on Ontario at its most magical and least crowded. During my first few years in Canada, I hibernated before learning that getting out there and making the most of it was the key to survival. And what do you know, I discovered that it’s not a consolation prize but one of the best times in the year to hike.
Do you hike to clear your head? Even the most popular trails are quiet in winter. Hate bugs, scared of bears? It’s completely bug and bear free. Find the heat overwhelming during summer? Winter hiking is your answer.
The woods develop another layer of beauty during winter. With a blanket of snow dampening sound and leaving the environment absolutely pristine, all you’ll hear is the sound of your boots crunching fresh tracks in snow and the birdsong that accompanies you.
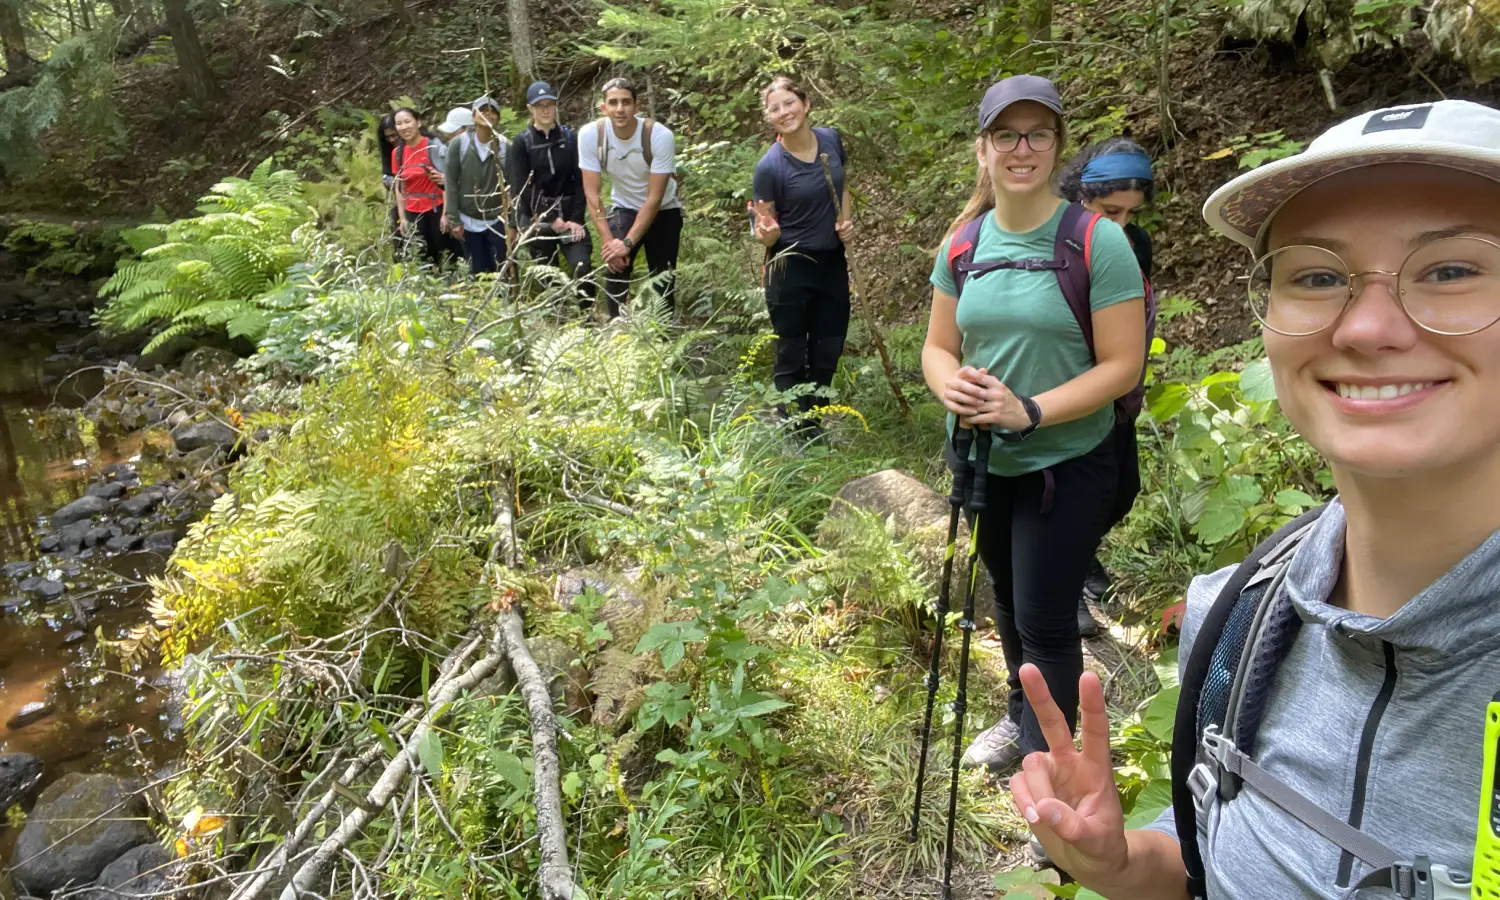
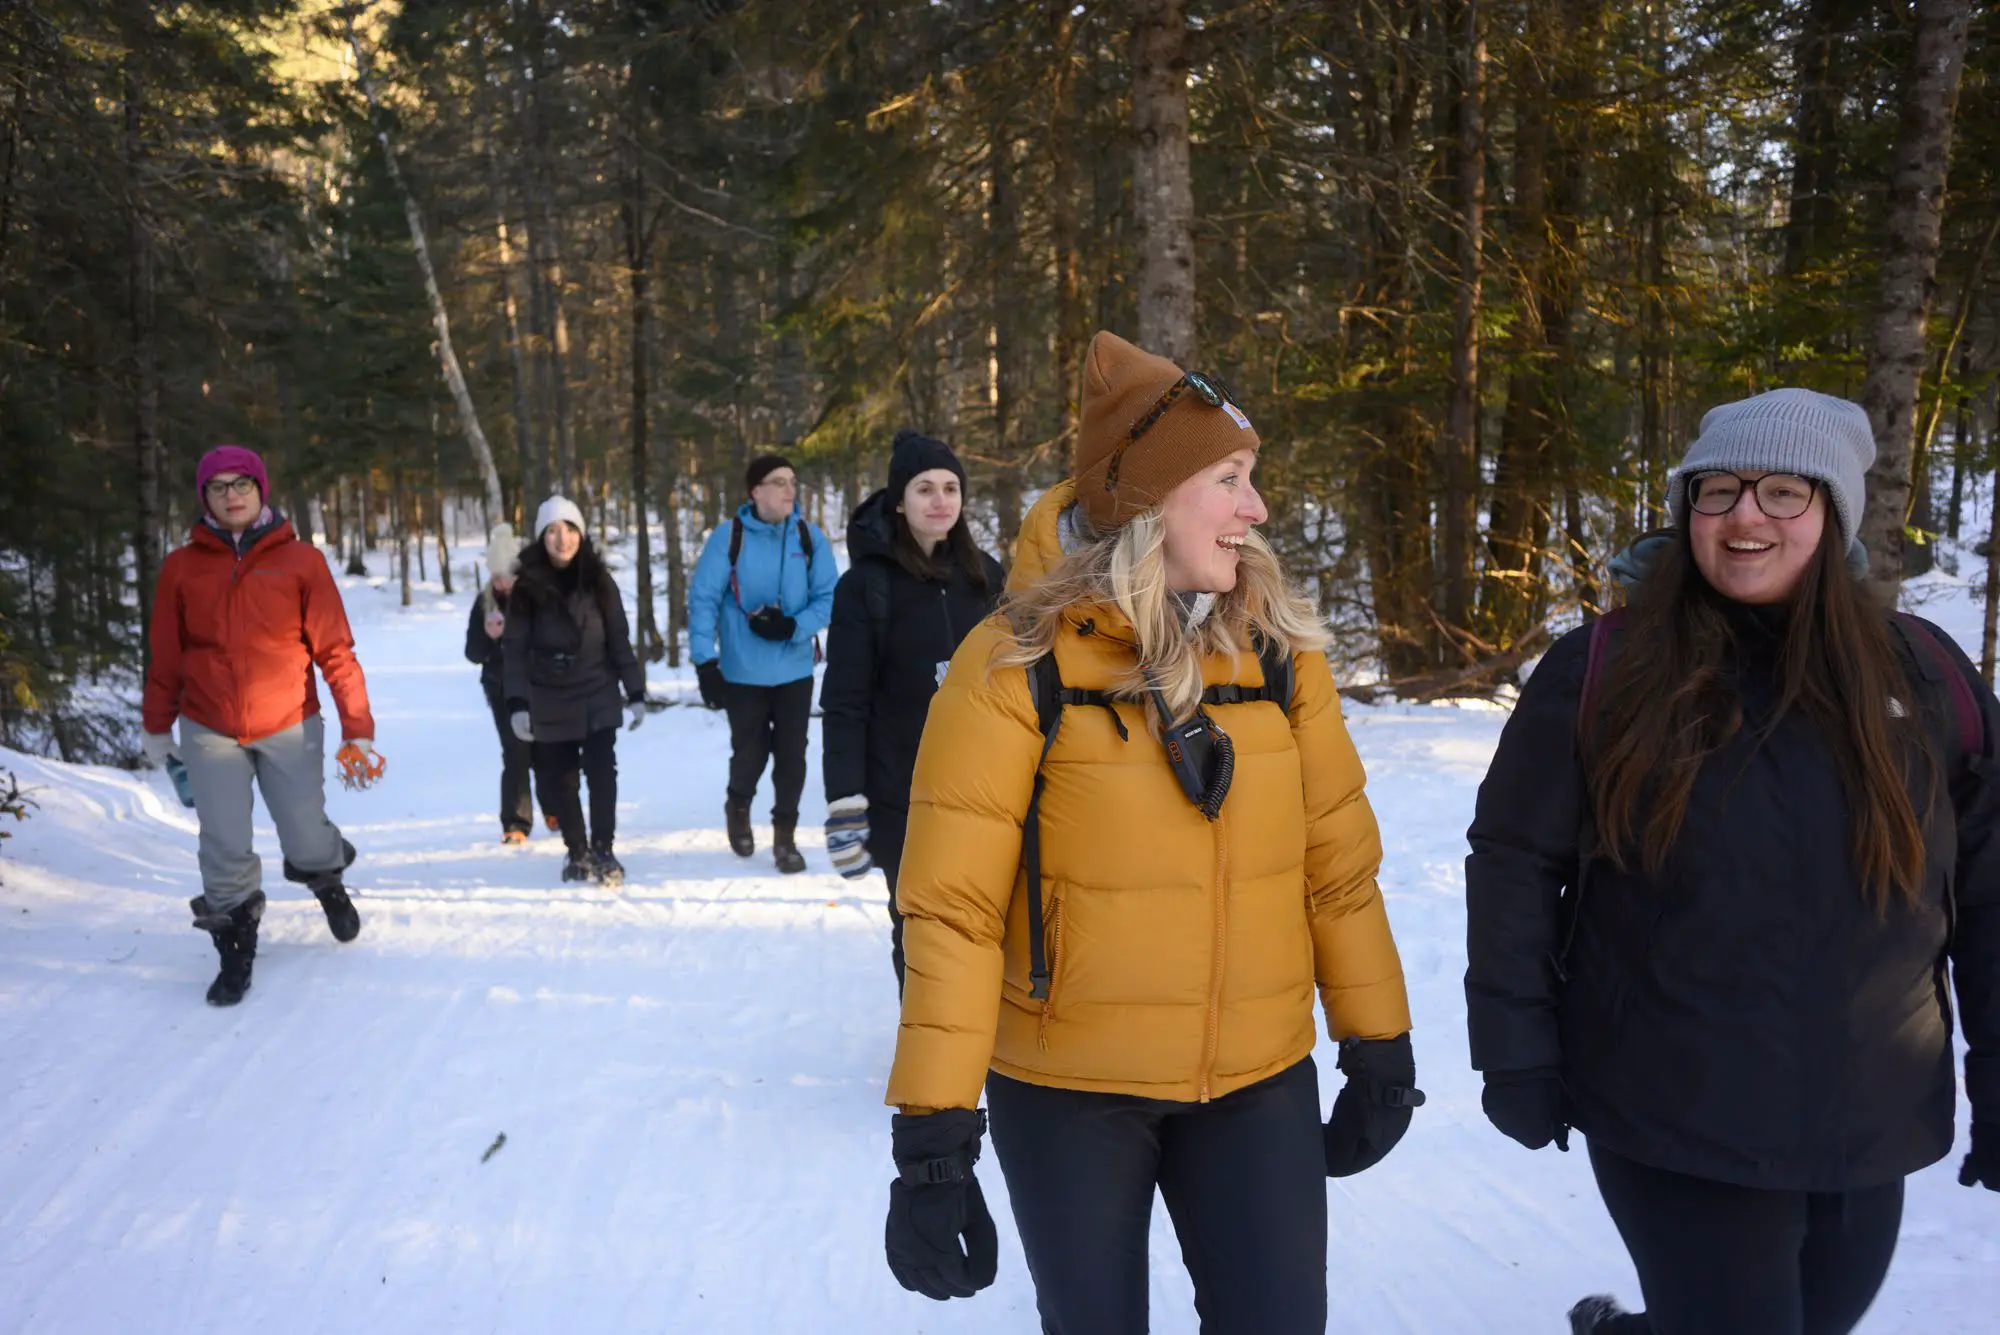
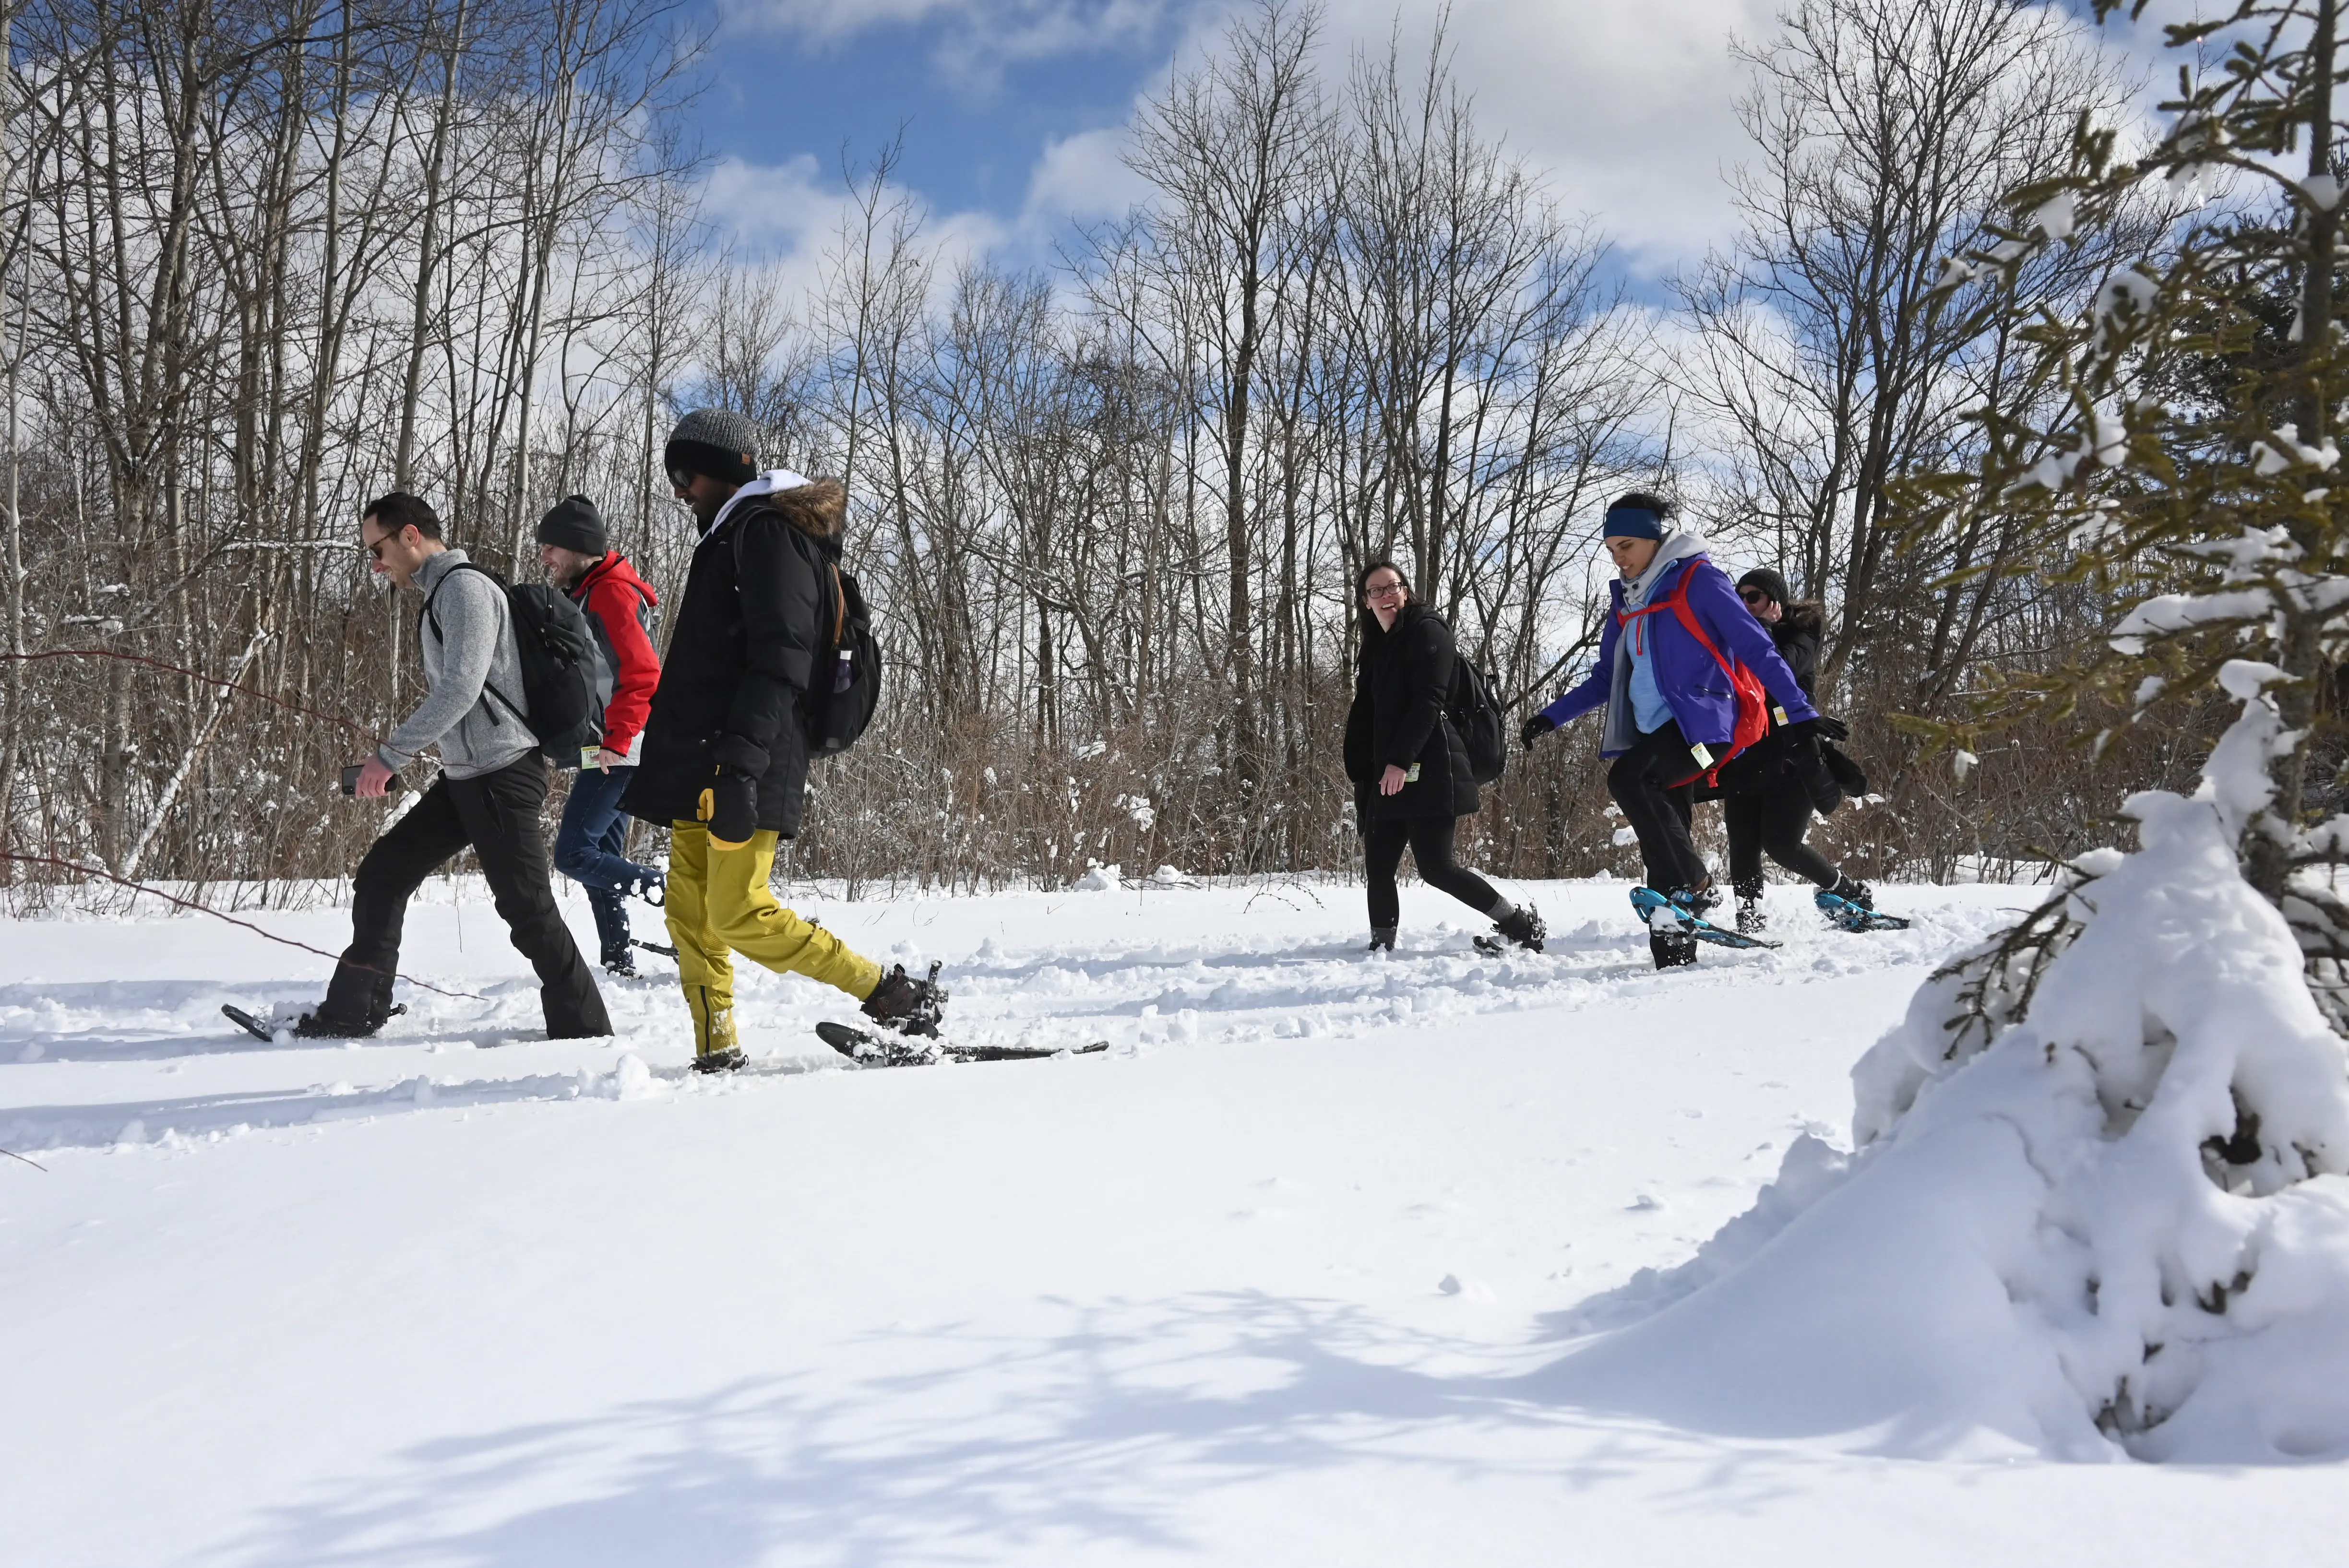
Wilderness Union takes hundreds of Canadians out to experience this for the very first time every year so we hear about the fears and uncertainties people overcome to get there. In this article, we’ll cover everything you need to know from safety to what to pack and wear so you can extend your hiking season safely, comfortably and become a certified winter convert.
Safety starts with knowing what to expect when you’re out there. Your level of caution should be adjusted to how remote your destination. Precautions for a hike on a well blazed trail with phone reception and proximity to a road will be very different to hiking across frozen lakes in wilderness environments.
Whatever the environment, it’s always a good idea to hike with other people and share your plans with someone before heading out. They will need to know what time you’re due back and what to do if you fail to check in.
We get pretty extreme weather in Ontario - you frequently see huge temperature swings, major dumps of snow and freezing rain all in a single day. Knowing what to expect and preparing for a range of eventualities is key.
One of the joys of winter hiking is the ability to have totally different hikes on the same trail according to conditions. As a rule of thumb, you should expect to hike about half the speed you would normally if there’s more than a few inches of snow on the ground. If it’s deep and you’re snowshoeing, you may go even more slowly, if it’s compacted, you may go at your regular speed. What’s important is that you leave extra time to complete your hike and avoid taking on something too ambitious. A simple hike can become extremely strenuous in deep snow and you don’t want to find yourself out of energy at the turnaround point on an out and back.
Before heading out you should have a sense of:
Weather Conditions: Check forecasts for both your driving route and your trail destination in your favourite app. Environment Canada have recently introduced very useful colour coded weather alerts that are helpful for go/no-go decisions.
Trail Conditions: To get even more granular, it can be helpful to know what conditions are like at the specific trail you’re going to. Getting towards the end of a through-hike and discovering the trail is now impassable is more than an annoyance when it’s -20 and the sun is about to set.
AllTrails often has updated trail statuses and local municipalities are a goldmine of information. Some like Gravenhurst and Algonquin Highlands even have a trails office you can call in advance - they’ll be delighted to talk to you!
Figuring out snow conditions can be more difficult and this is often the single biggest impact on your hike. The weather app Windy is a little hard to navigate but has incredibly rich data including snow depth that will allow you to better prepare.
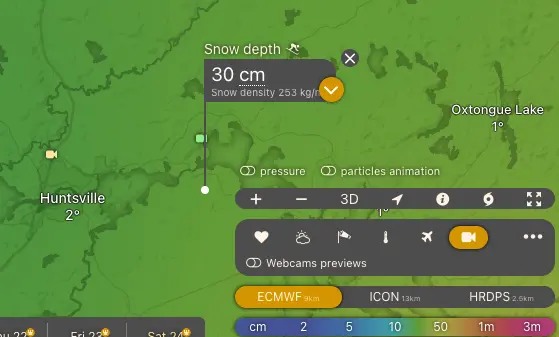
Ice Conditions: Walking over frozen lakes is one of the most satisfying and dangerous elements of winter hiking. It can be difficult to know in advance what the conditions will be like so speak to people in the area who know the ice (Facebook and ice fishing groups can be a good resource) and never walk on ice that you’re unsure about. You need at least 4” of ice to support a person. Don’t make the mistake of seeing a snowmobile and assuming it’s safe for you to be on there - conditions can change considerably in different locations and it only takes one hidden stream to turn lake ice deadly.
Sunset: Easy to overlook. Check what time the sun will set and plan your hike accordingly. You should aim to be off the trail one hour before sunset.
Hunting happens throughout winter and it’s not uncommon to hear gun shots or come across a hunter in the bush. Before heading out you should figure out whether hunting is allowed at your destination. You can search by park on the Ontario Provincial Park website. It’s more common on crown land but you should always assume that hunting could be happening unless you know otherwise.
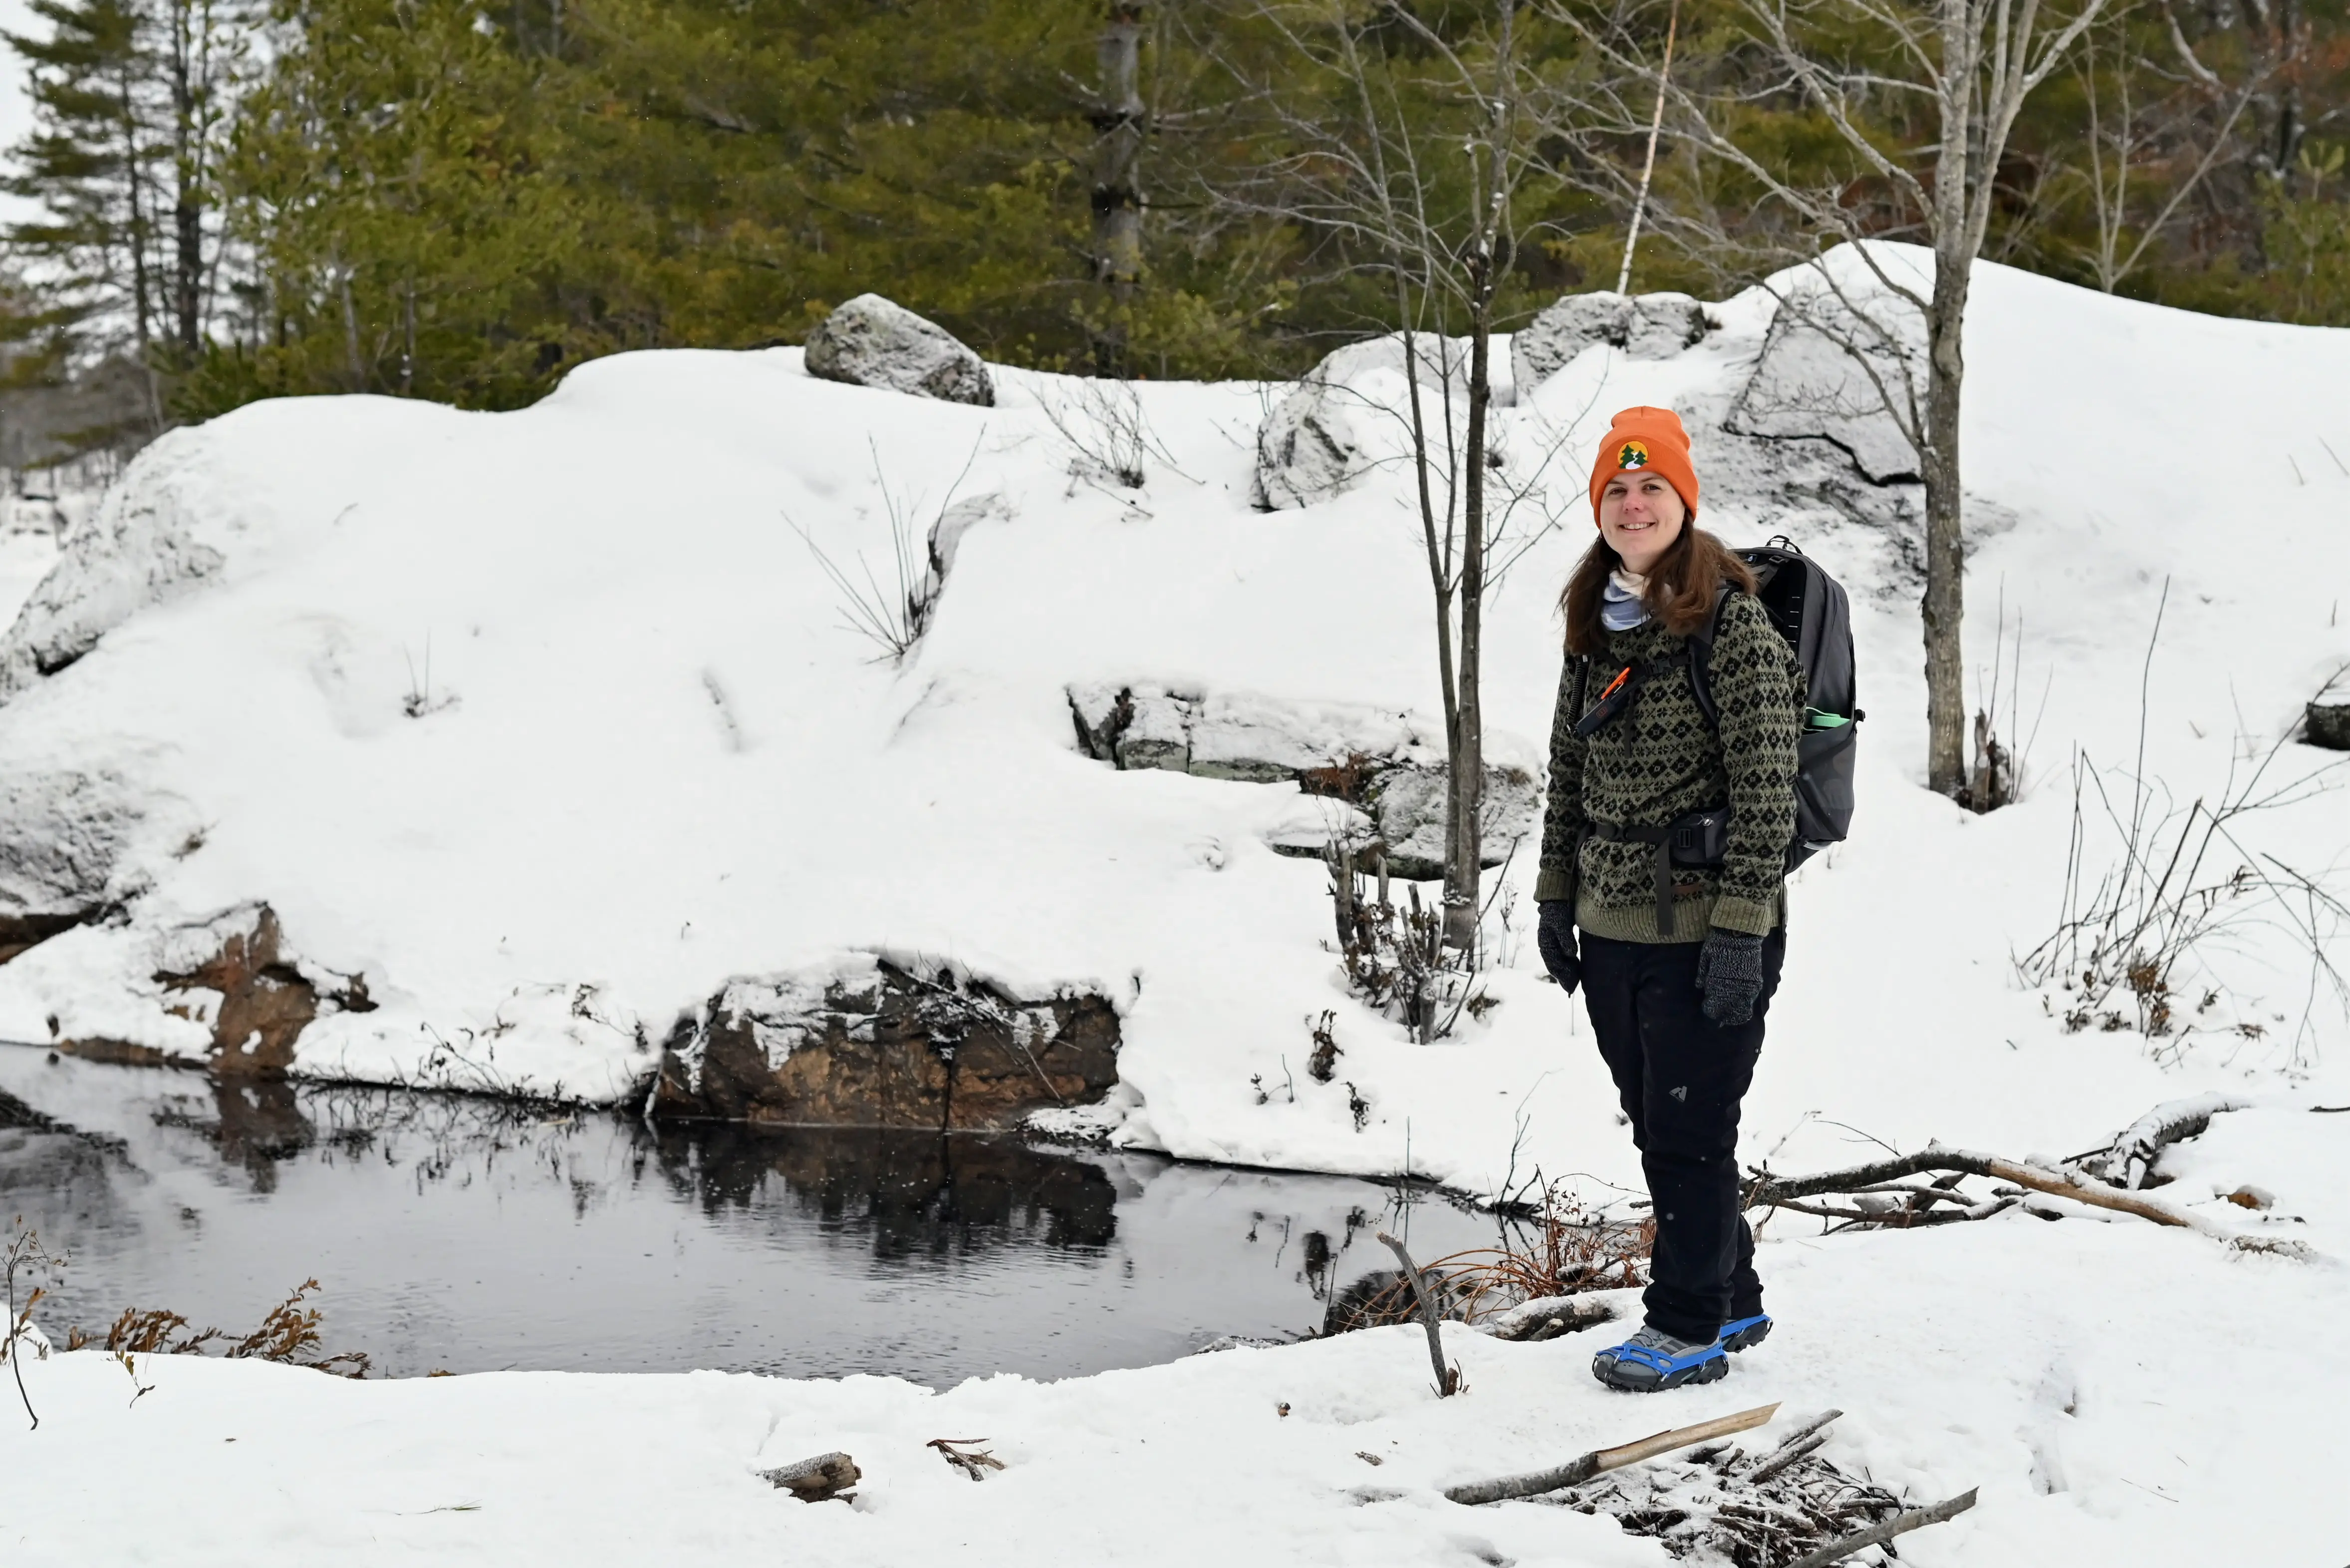
While hunters tend to keep far away from trails you should always wear some “hunter”/”blaze” orange clothing when there’s a risk of hunting taking place. This will keep you visible and ensure you’re not mistaken for a deer. This can be a work-vest or just a toque.
Once you know where you’re going and what to expect, here’s what to think about bringing:
Backpack: You’ll need a backpack, 20-30 litres is generally adequate for a day hike. You can get very cheap backpacks from Decathlon but if you want to try a pack on (always recommended) a specialty store like WU partner MEC will be able to get you fitted. You’ll need some extra space for the adding and shedding of layers along with the additional gear.
Map: You never want to solely rely on trail signage. Decide whether you’re bringing a paper map, digital map or both. Read more on this topic in our blog post about navigation.
Phone: Be aware that your phone can fail and if it gets too cold, it will run out of battery very quickly. If that’s your only method of navigation, you can find yourself in serious trouble, fast. You should keep your phone safe from the elements, in a warm place and close to your body to prevent it from dying. A spare battery pack is always a wise choice.
Emergency kit: There’s a huge amount that can be said here but in short, you should have the means for survival if something goes wrong. Pack an emergency foil blanket (which packs down into a tiny space), a fire starting kit (with firestarters and a source of ignition) along with a first aid kit, tailored to your personal needs and the risks at your destination.
Extra wool socks: To change into if your feet get wet. Wool socks stay warm while wet and are the best choice in winter.
Hand/toe warmers: If you really feel the cold, a pack of hand or toe warmers can be the difference between feeling miserable and having a comfortable hike.
A small foam pad: One of the cheapest, easiest upgrades to your winter experience is a simple ‘closed-cell’ foam pad to sit on and isolate your butt from the cold of the ground or the discomfort of a rocky lunch spot. They take up very little room and weigh just a few ounces - well worth packing.
Food and drink: There are a few unique considerations to staying fed and hydrated in winter. You’ll expend more calories than usual due to the extra effort of trudging through the snow so pack more food than you would otherwise. The same applies to water - you may feel less thirsty but you still need to drink, so make sure to have water at regular intervals.
If it’s cold enough, your water will freeze as you hike. If you’re using a bottle, keep it on the interior of your bag, ideally in an insulated bottle. If you don’t have an insulated bottle, store it upside down. Water freezes from the top down and this will allow you to drink once you flip it back over. Water bladder uses can continue through winter but will need an insulated drinking tube - the bladder may stay ice free, the tube will not!
Packing a hot drink is a real luxury on cold days as is good food. Some of our members pack hot food in an insulated container for a truly special meal on the trail but even the most basic packed lunch should be stored in an insulated lunch box to prevent it from freezing.
Headlamp: It’s easy to get caught out after sunset with winter’s short days. Always have a headlamp in your pack just in case. Your phone’s light is not a suitable alternative.
Ice spikes or snowshoes: You should always have ice spikes (otherwise known as crampons or micro-spikes) in your bag once there’s snow or ice on the ground. Snowshoes are only necessary in deep and powdery snow. Learn more about when you need snowshoes and which ice spikes to buy in this article.
Self-rescue ice picks: Only needed if you’re hiking across ice - in a worse case scenario these can save your life. They thread through your jacket arms so they’re reachable by either hand in the case that you fall through ice. They have retractable spikes you can jam into the ice in order to pull yourself out. They’re cheap to buy and easy to pack.
There’s no need to ever be uncomfortable if you get your clothing right. The adage that there’s no such thing as bad weather, only bad clothing has never been more true than when applied to winter hiking.
The key is to have layers that allow you to adjust your temperature as you heat up and cool down. The biggest problem you're likely to encounter is getting too hot initially and then too cold once you stop moving as the evaporative cooling effect from your sweat comes into play. It's important that you properly layer and vent your clothes so you can stay at a good temperature throughout the hike. Think about how heat is locked in and escapes from each layer - you only need to get one layer wrong (think an extra cotton t-shirt) to undo the whole effect.
Always start with a moisture-wicking base layer—synthetic materials or wool are best, never cotton which traps moisture and loses insulation when wet. Add insulating layers (like fleece or down) and finish with a down (or synthetic) coat and a ‘hard-shell’ weatherproof outer layer as needed (ie. a rain jacket). Wherever possible, you should choose options with zips and vents to allow you to quickly release heat and seal it back in according to your exertion.
One of the most common mistakes is to bring a city-style winter coat. More often than not you’ll end up very hot and stuck carrying a heavy, bulky coat. Start out a little cold and you’ll find you heat up before you know it.
Here’s what we recommend for a super effective layering system:
A wicking base layer
A warm mid layer
A compact, warm ‘puffy’ jacket
.webp)
A ‘hard shell’
Pants
Combined, these layers can keep you comfortably hiking at temperatures of -20c or lower!
Hiking boots - Wear waterproof boots with enough room for thick, wool socks. You want some extra space at the end of your toes to allow for a layer of insulating air. Counter-intuitively, wearing extra thick socks (our doubling up) that pack leave your feet squashed will only make them colder. For really snowy days, or winter camping, a high winter boot with a removable liner may make sense - just keep in mind they’re heavier than a regular hiking boot.
Socks: Wool socks will keep you warm even when wet. Find a pair that will keep you warm but leave space in your boot. And don’t forget that second pair!
Buff or Balaclava: A buff (or neck gaiter) is effectively a more versatile alternative to a scarf and fulfills a similar purpose to a balaclava. On really cold days, breathing through either will warm the air and make it less painful on your lung.
Toque: Or for non Canadians, a beanie. Pack a hunter orange coloured toque and you’ll always be prepared.
Gloves: You can layer your gloves as you would the rest of your clothing depending on temperature. Mittens are warmer, at the expense of losing dexterity. Cheap dollarama wool gloves to wear under mittens are a real hack for super cold days.
Gaiters: If you’re hiking in particularly deep snow, gaiters will prevent snow from entering your boot. They’re surprisingly affordable, give you some extra piece of mind and have the bonus of making you look like a real pro.
At this point you may be worried about the costs involved in gearing up for a winter hike but the truth is you can dress perfectly adequately without spending much money.
Think materials, not brands
We love technical materials as much as anyone else but you don’t need the brand names to get the benefits. You know where is full of woolen clothing and athletic wear? Thrift stores. Wool pants may have gone out of style but they’re still some of the best material you can wear for winter hiking and you’ll pick them up at bargain prices. Fleeces and cheap rain coats abound along with breathable athletic wear. If you’re solo hiking, you may as well wear the most flamboyantly functional ‘fit you can find.
Don’t overlook mainstream stores
Uniqlo has a massive range of good quality, low cost cold weather clothing. Whether you spend $50 or $500 on a down jacket, it’s going to get an ember burn the first time you hang around a camp fire so there’s a strong argument to save money here.
Use your member discounts
Wilderness Union members get money off on many outdoor retailers so always check out the Partner Discount section of your account before making a purchase. We get regular discounted shopping events at MEC and you can kit yourself out with a whole quality winter layering system at Northern Sun. Many of our guides and members wear a combination of their Chinook Sherpa mid-layer, their packable down jacket along with the Chinook Shell outer layer as an all in one layering system.